

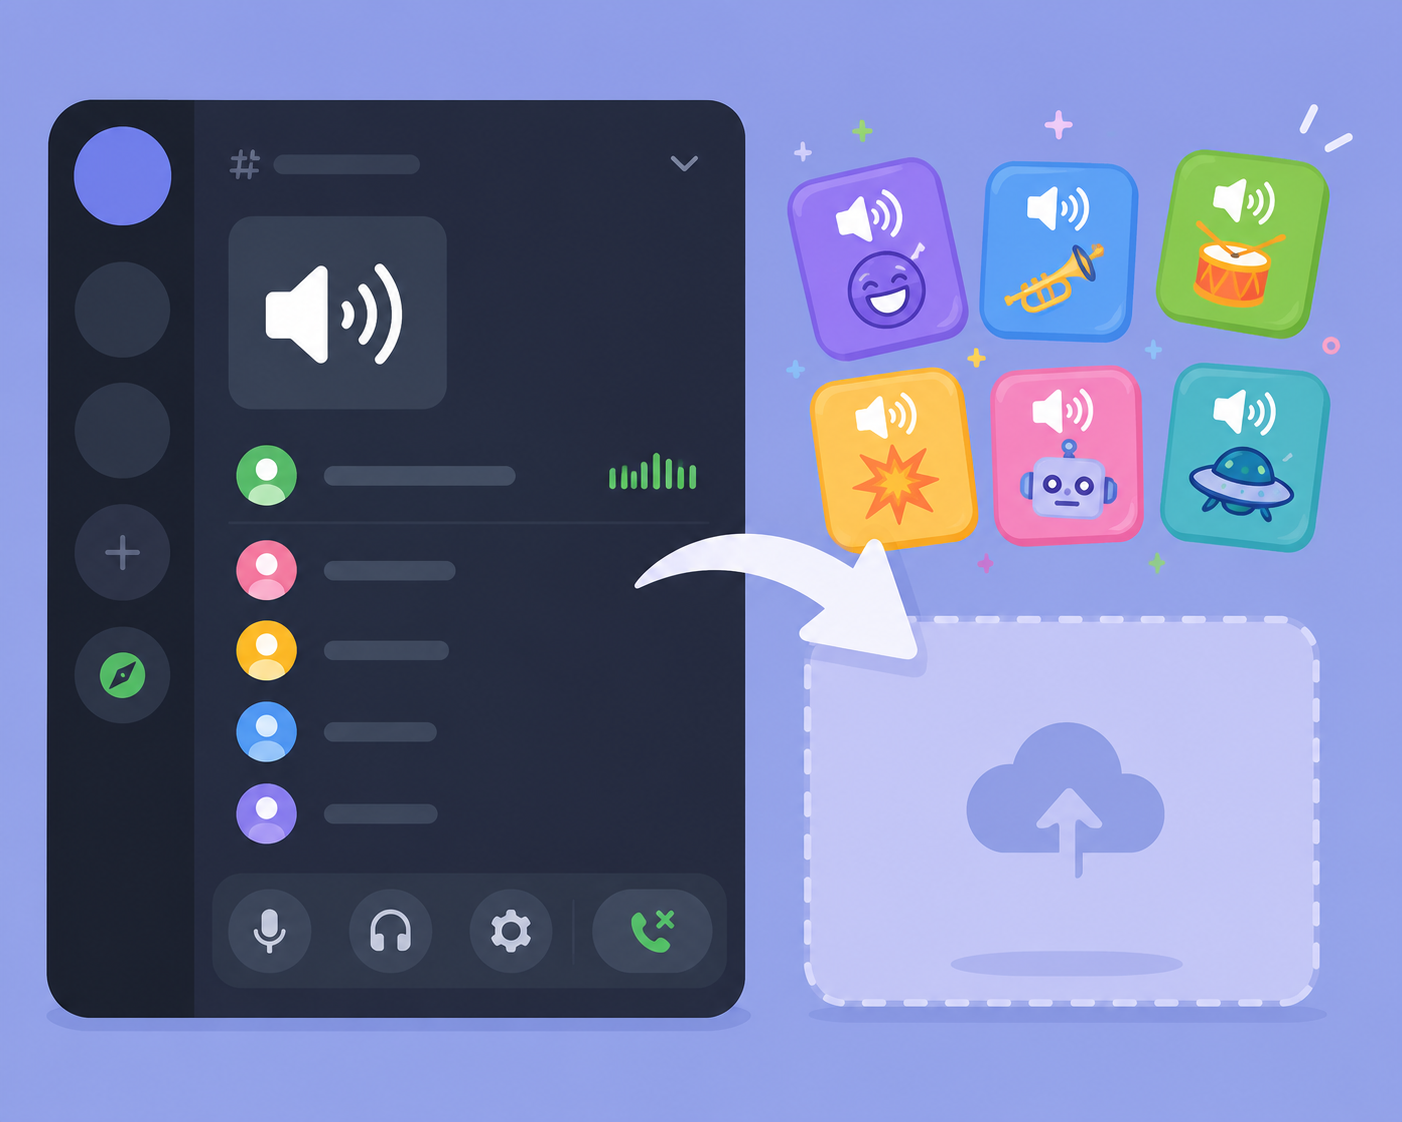
Discord's built-in soundboard lets anyone in a voice channel play a short sound clip that everyone in the call can hear — and every server can stock its own soundboard with custom clips on top of the default sounds Discord provides. If you already know what sound you want to add but can't quite find where the upload option lives, here's exactly how to add custom sounds to a Discord soundboard, along with the file requirements and permissions involved.
Where the Discord Soundboard Actually Lives
Before uploading anything, it helps to know where the soundboard shows up for members. While connected to a voice channel, look for a speaker-style icon in the voice control panel — clicking it opens the soundboard, showing Discord's default sounds alongside any custom sounds your server has already added. Anyone in the call with the right permissions can click a sound to play it for everyone connected, similar to a real physical soundboard button.
Custom sounds you upload appear in this same panel, mixed in with the built-in options, so members don't need to go anywhere special to find and use them once they're added.
Step 1: Check Your Permissions
Adding a custom sound to a server's soundboard requires the appropriate permission, which is typically limited to server admins or roles specifically granted permission to manage the soundboard. If you don't see an option to add a sound, the most likely reason is that your account doesn't have that permission on the server — worth checking with a server admin before assuming something's broken.
Step 2: Prepare Your Audio File
Discord enforces specific requirements for custom soundboard uploads, similar to how custom emoji and stickers have their own limits:
- File format — audio files need to be in a supported format, most commonly MP3 or OGG.
- File size — custom sounds must stay under Discord's size limit for soundboard uploads, so a short clip works much better than a long one.
- Clip length — sounds are capped at a few seconds, since the soundboard is built for quick reaction clips rather than long audio.
If your source audio is longer than the limit allows, trim it down to just the essential moment before uploading — the same instinct used for making a good GIF applies here: shorter, tighter clips work better than long ones.
Getting a Clip Ready to Upload
If you're pulling a sound from a longer video or audio file, use any basic audio or video editor to trim it down to the exact few seconds you want, then export it as an MP3 or OGG file before starting the upload process. Having the file already trimmed and correctly formatted before you open Discord's upload screen makes the rest of the process much faster.
browse funny meme sounds is a good place to start if you don't already have a specific clip in mind — previewing a few options first can save you from uploading a sound that doesn't quite land the way you expected once it's actually playing in a live call.
Step 3: Upload the Sound
Once you're in the server with the right permissions, open the soundboard panel from the voice control area and look for an option to add a new sound. From there:
- Select the audio file you prepared from your device.
- Give the sound a clear, recognizable name — this matters more than it seems, since members will be scanning a list of names to find the right sound quickly during a live call.
- Optionally choose an emoji to represent the sound visually in the soundboard panel, which makes it easier to spot at a glance.
- Confirm the upload.
Once uploaded, the sound appears immediately in the soundboard for anyone in the server with permission to use it — no extra step needed to "activate" it separately.
Step 4: Set Sound-Specific Permissions (Optional)
Depending on how a server is set up, individual sounds can sometimes have their own usage permissions separate from the general ability to add sounds — useful if you want a sound available to everyone but only editable or removable by certain roles. This is worth reviewing if you're managing a larger server where different roles have different levels of trust.
How Many Custom Sounds Can a Server Have
Like custom emoji and stickers, the number of custom sounds a server can hold scales with the server's boost level — a brand-new, unboosted server starts with a smaller allotment, and that number increases as the server gains more boosts. This is worth keeping in mind if you're planning a large custom sound library, since you may need to prioritize which sounds matter most until the server boosts up further.
Playing a Custom Sound in a Call
Using an uploaded sound is simple once it's in the soundboard: while connected to a voice channel, open the soundboard panel and click the sound. It plays instantly for everyone currently in the call, similar to how a custom emoji or sticker posts instantly once selected. There's no need to type anything or interrupt the conversation — it plays alongside whatever else is happening in the call.
Soundboard Sounds vs a Personal Soundboard App
It's worth noting the difference between Discord's built-in server soundboard, covered in this guide, and third-party standalone soundboard apps some users run separately and route into Discord through virtual audio cables. The built-in soundboard is simpler to set up and works natively inside any voice channel without extra software, while a separate soundboard app offers more sounds and more control at the cost of extra setup. For most servers, the native soundboard covers the basics well without needing anything else installed.
Quick Recap: How to Add Custom Sounds to a Discord Soundboard
To summarize the full process: confirm you have soundboard management permission on the server, trim your source audio down to a short clip in a supported format like MP3 or OGG, open the soundboard panel from the voice control area and upload the file, then give it a clear name and optional emoji so members can find it quickly during a live call. The upload step itself only takes a minute once your audio file is properly prepared — most of the actual effort goes into picking and trimming a good clip beforehand.
Troubleshooting Common Upload Issues
If the upload option does not appear at all, the most likely cause is a missing permission rather than a broken feature — double-check with a server admin rather than assuming something is wrong on your end. If the file itself gets rejected, it is almost always either the wrong audio format, over the size limit, or longer than the allowed clip length, so re-exporting a shorter, correctly formatted version usually resolves it.
Conclusion
Learning how to add custom sounds to a Discord soundboard mostly comes down to four steps: confirm you have the right permissions, prepare a short audio clip in a supported format, upload it through the soundboard panel, and give it a name members will recognize quickly. Once it's added, using it is as simple as a single click during any voice call. If you need source clips to build out your server's soundboard in the first place, SoundGIFs has a large library of short sound effects worth browsing before you start uploading.