

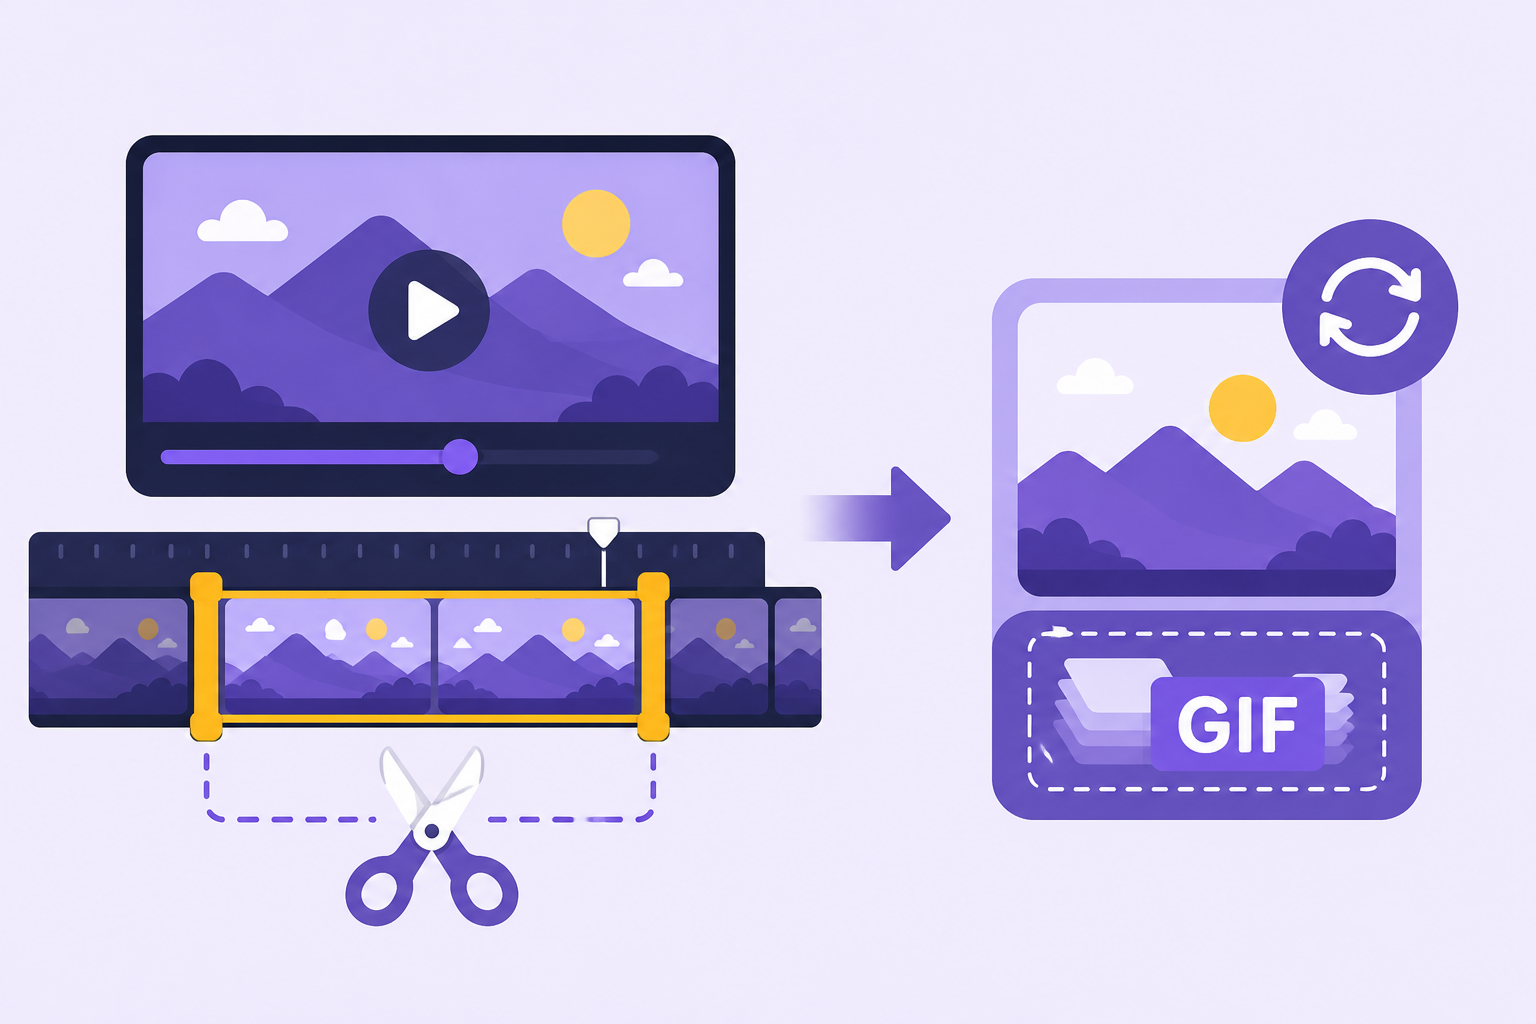
A great GIF usually comes from a video clip that already existed somewhere else — a show, a stream, a home video, a screen recording. Learning how to make a GIF from a video is mostly about picking the right few seconds and trimming out everything else. Here's the full process, from finding the moment to exporting a file that's actually easy to share.
Step 1: Pick the Right Clip
Not every moment makes a good GIF. The best source clips tend to be short, visually clear, and instantly understandable without extra context — a reaction, a specific movement, a punchline. If you need a full sentence to explain what's happening in the clip, it's probably too long or too complicated to work well as a GIF.
Before you start editing, watch the source video and note the exact timestamp where the moment you want begins and ends. Having those two numbers ready makes every step after this one much faster.
How Long Should a GIF Actually Be
Most effective GIFs run somewhere between one and five seconds. Shorter clips loop more smoothly and load faster, which matters a lot since GIFs are often viewed in fast-scrolling feeds and chats where nobody's waiting around for a slow file to load. If your moment genuinely needs more than five or six seconds to land, it might work better as a short video clip instead of a GIF.
Step 2: Choose a Tool to Convert Video to GIF
You have a few realistic options here, depending on how much control you want:
- Online GIF makers — the fastest option for most people. Upload or paste a link to your source video, set your start and end points, and export. No software installation required.
- Desktop video editors — tools like editing software with a "export as GIF" option give you more precise control over trimming, cropping, and speed, useful if you're working with a more complex edit.
- Mobile apps — several phone apps let you trim a clip and export directly to GIF without needing a computer at all, convenient if your source video is already on your phone.
For a single quick GIF, an online tool is usually the simplest path. If you're making GIFs regularly, a dedicated editor with GIF export built in will save time in the long run.
Getting the Source Video Ready
If your video is already saved as a file, most tools let you upload it directly. If it's hosted somewhere else, some tools accept a direct link instead, pulling the video automatically rather than requiring a manual download first — handy if you don't want an extra full-length video file cluttering your device.
Step 3: Trim to the Exact Moment
Once your tool is loaded up, use the timestamps you noted in step one to set your in and out points. Trim tightly — cutting even half a second of dead air off the front or back of a GIF noticeably tightens the pacing and makes the loop feel more intentional rather than accidental.
Getting the Loop to Feel Natural
A GIF loops continuously, so the transition from the last frame back to the first matters more than people expect. If your clip ends on a very different pose or expression than it starts on, the loop can feel like it jumps or stutters. Trimming to a moment that starts and ends on a similar frame, or picking a clip that naturally resets itself, makes for a much smoother repeat.
Step 4: Crop and Adjust the Frame
Most GIF tools let you crop the frame after trimming. This is worth doing if your source video includes distracting background elements, black bars, or extra space around the actual subject — a tighter crop keeps attention on the moment that actually matters.
Some tools also let you adjust playback speed, add captions, or overlay text directly onto the GIF at this stage, useful if you want the moment to read clearly even without any surrounding context.
Step 5: Export and Check the File Size
This step is easy to skip but matters a lot for how usable your GIF actually is. Export your file, then check the size before sharing it anywhere. A GIF that's too large can load slowly or fail to upload entirely on certain platforms, especially messaging apps with strict file size limits.
Keeping File Size Reasonable
A few habits keep file sizes manageable without hurting quality too much:
- Keep the clip short. Length has the single biggest impact on final file size.
- Lower the frame rate slightly if your tool allows it. A GIF doesn't need full video-quality smoothness to read clearly.
- Resize the dimensions down if you don't need a huge resolution — most GIFs get viewed small, in a chat bubble or a comment thread, so exporting at full video resolution is usually unnecessary.
browse funny gifs is worth a look once you've made your own, both for inspiration on pacing and length, and as a quick way to compare your export against GIFs that are already optimized for sharing.
Quick Recap: How to Make a GIF From a Video
To summarize the full process end to end: pick a short, self-explanatory clip, note its exact start and end timestamps, choose a tool that matches how much control you want, trim tightly around the moment, crop out any distracting background, and export while keeping an eye on the final file size. Each step is quick on its own, but skipping one — especially trimming or checking file size — is usually what separates a GIF that works well from one that feels clunky to actually use.
Making GIFs From Different Types of Source Video
The exact workflow shifts slightly depending on where your source video comes from. Screen recordings tend to need more cropping, since they often include toolbars, cursors, or extra desktop space around the actual moment. Clips from a show or movie usually need careful trimming to avoid catching a scene transition mid-loop. Phone-recorded video is often the easiest starting point, since it's usually already framed tightly around the subject, needing little more than a trim and an export.
Common Mistakes to Avoid
A few habits reliably make a GIF harder to use than it needs to be:
- Leaving the clip too long. Longer clips take longer to load and rarely add anything a shorter, tighter cut wouldn't communicate just as well.
- Skipping the crop step. Distracting background elements pull attention away from the actual moment.
- Ignoring file size until after uploading. Checking size before sharing saves the frustration of a GIF that won't post somewhere.
- Picking a moment that needs explanation. If a caption is doing most of the communicating, the clip itself probably isn't the right choice for a GIF.
Conclusion
Learning how to make a GIF from a video really comes down to five steps: pick a short, clear moment, choose a tool that fits how you like to work, trim tightly, crop out distractions, and export with file size in mind. Once you've done it a couple of times, the whole process takes only a few minutes from source clip to shareable file. If you'd rather skip making one from scratch entirely, SoundGIFs has a large library of ready-made GIFs across just about every reaction and mood worth browsing first.